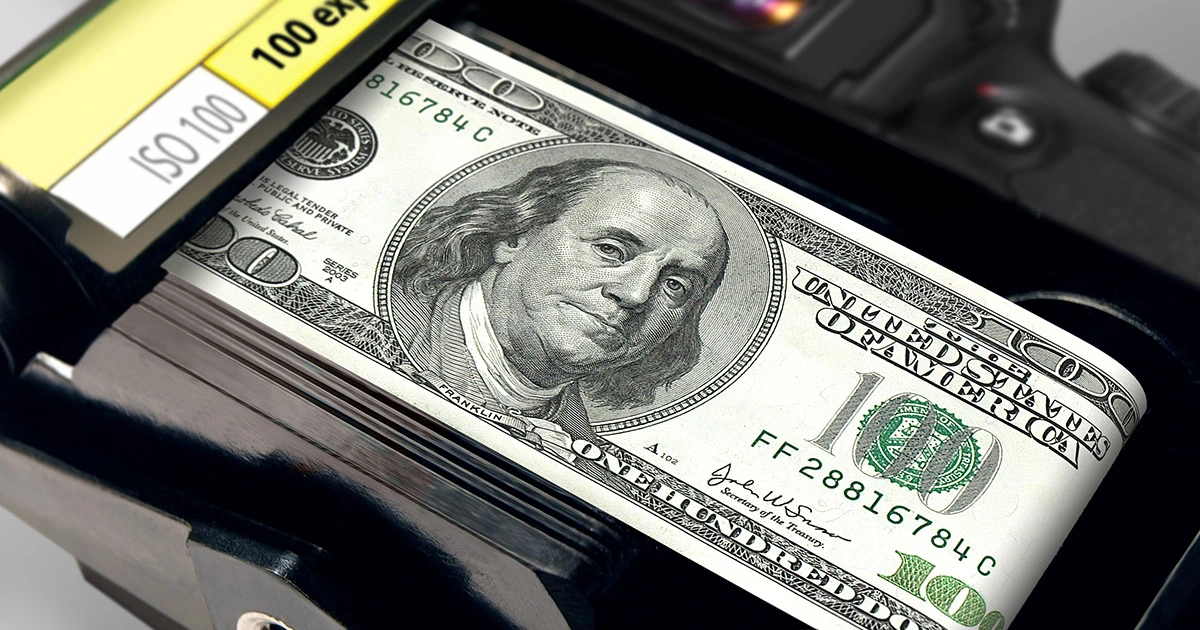
Say Cheese! Using Amazon Images to Close the Sale


Table of Contents
- Best Order for Amazon Listing Images
- 1. Main Image
- 2. Infographic A
- 3. Infographic B
- 4. Infographic C
- 5-6. Lifestyle Images
- 7. Comparison Image
- How to A/B Split Test and What Metric to Track
- What to do if Amazon Takes Down Your Listing Due to Non-Compliant Images
- DIY Method Compared To Professional Photography
- Useful Tips for Photography and Image Design:
- Color and Refinement
- Conclusion
Think of your Amazon listing images as fishing. Once your shopper is interested, it is your job to lure, hook, and reel them in. Using the right combination of images and in correct sequence is the trick you need for a successful conversion rate.
In the last photography blog, we talked about the differences between types of Amazon images you will want to include with your listing. Now it’s time to go deeper. To unlock the maximum potential of your product listings, follow this sequence of Amazon Listing images.
Best Order for Amazon Listing Images
1. Main Image
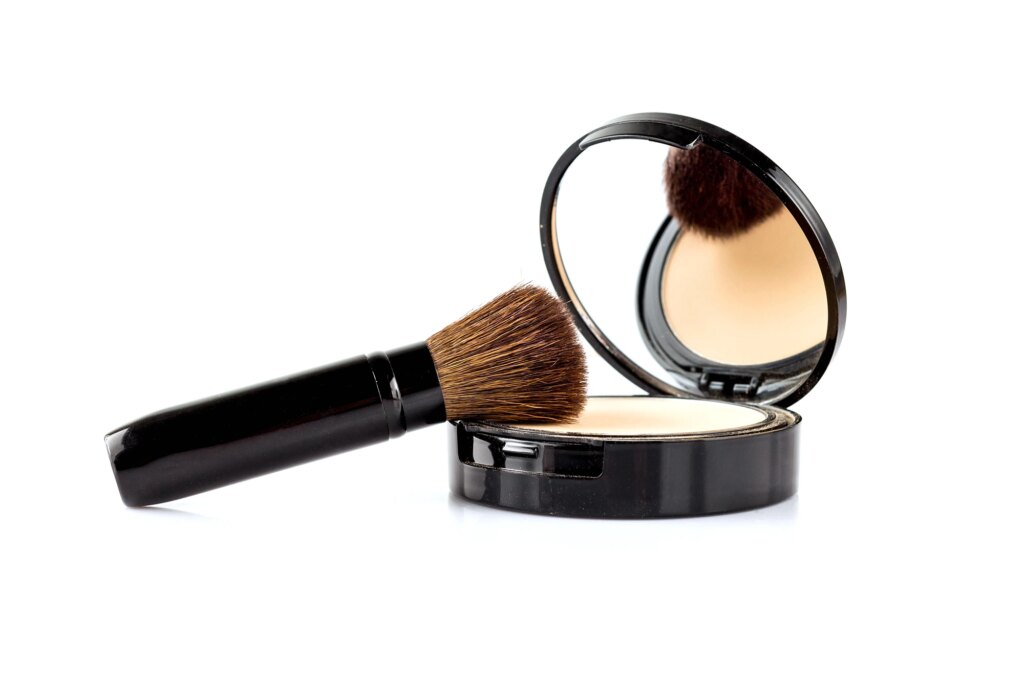
Begin with the mandatory white background image to showcase your product’s face. Free of distractions, this image will help your consumer know exactly what they are getting.
Coming after your main image, a combination of attractive infographics will help consumers scan for relevant information and pique their interest.
2. Infographic A
To continue with the sequence, your second image will address the main questions of the customer. Is this a unique or new product? What are the key features that you need to highlight to provide the base of information?
3. Infographic B
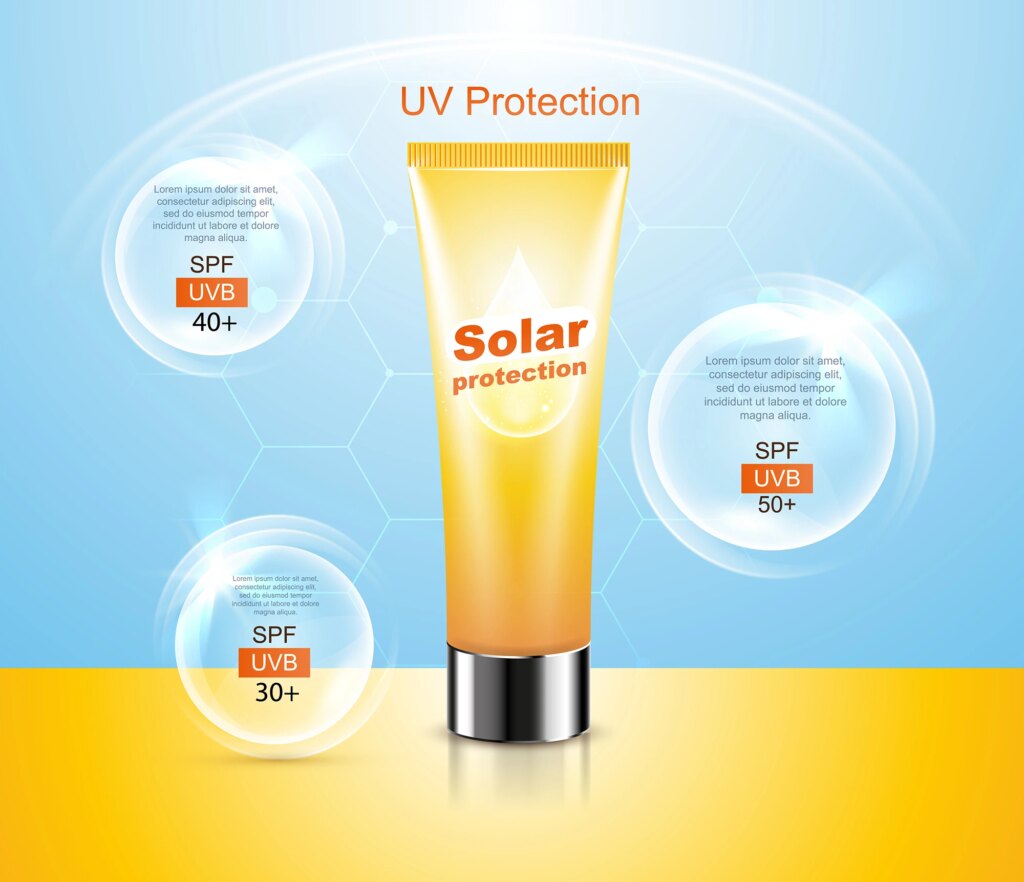
The third image should make a display of what is included in the product set. Knowing exactly what they will get upon purchase will help them decide better and faster.
4. Infographic C
Since the buyer needs reference of the measurement, adding infographics with accurate dimensions is imperative to reassure them of making the right product decision.
5-6. Lifestyle Images
The fifth and sixth images should be directed at your customer avatar, inducing a daydream of a heightened sensation they’ll receive from the use of the product. Show them a lifestyle image that displays the best setting this product can be used in. Nike uses a similar technique in their advertising where they focus on athletes hiking mountains or running tracks, subconsciously encouraging the viewers to feel like an athlete when they wear Nike products.
Your job is to lure, hook, and reel them in.
7. Comparison Image
Lastly, seal the deal with either a comparison chart or before & after image so shoppers understand how this product can make their life easier and what sets your product apart from other competitors.
How to A/B Split Test and What Metric to Track
A split test will help you determine which main image compels most consumers to click, and which image set will help you secure the best conversion.
Now, everyone out there is selling the same products with increasingly sleeker Amazon listing images…
The concept behind an A/B Split testing is comparing different versions of the same listing with the help of controlled experiments. By running this simulation, you test a change in a particular variable to assess the impact it makes in improving metrics.
What metrics provide insight into image performance and how is tracking beneficial to you?
Click-through rate (CTR): The percentage of visitors to the product page who were shown the listing in the search results.
Benefit → If the main image is great, the click through will be high.
Unit session percentage (USP): The percentage of buyers who had visited the listing page.
Benefit → It tells us if the images are working well to create that emotional response.
There are various websites and test softwares you can use to split test your main image or image set. These split test tools will make an audience vote between the two sets and eventually determine which images actual people are responding to the most.
What to do if Amazon Takes Down Your Listing Due to Non-Compliant Images
To make sure everyone is adhering to the guidelines, Amazon randomly cracks down on listings to remove non-compliant images and issue warnings. Due to this unpredictable policing, it isn’t guaranteed which listing will be taken down if rules are violated. Relying on the off chance that one might just get away isn’t recommended.
The best practice is to avoid anything conflicting with the terms of services.
Otherwise, Amazon will be forced to take strict measures.
If it is just a single image that is not compliant, Amazon typically removes that particular image. That is easily fixed by replacing the image. However, if all images are non compliant, Amazon will suppress the listing and the seller will be required to make changes in images in order to continue. Once the required changes have been made, Amazon will reinstate the listing.
A typical violation that results in suppression include:
- Placing a logo or text on the main image
- False or misleading claims especially in health and beauty products
- Adding items that are not included in the set
In order to fix a suppressed listing, visit Seller Central and locate the Inventory Tab. From there, drop down to ‘Manage Inventory’. If a listing is currently suppressed, you will see a ‘Suppressed’ alert.
Follow the ‘Suppressed’ option and open up the product listing. Take your time to carefully observe which violation you have made and fix accordingly. You can click ‘Manage Images’ to fix product images. Go through your listings’s Amazon Product Summary page, which will help you in pointing out all violations. Save your progress by clicking ‘Save and Finish’ once you have resolved.
DIY Method Compared To Professional Photography
Before you introduced your product into the competitive Amazon marketplace, you put in tons of energy and money into making sure you have a chance at success. Still, many new sellers make the seemingly benign choice of uploading Amazon listing images that are unimpressive, to say the least.
Sure, you can use your own camera and do a DIY photography session, but your chances of standing out are not what they could be. Self photography used to work better when Amazon wasn’t crowded with highly competitive marketeers. Less competition meant less choices the buyers had to make.
Now that everyone out there is selling the same product with increasingly sleeker images, sellers may need a professional touch to edge out the competition.
Since average traffic per listing is declining due to competition, sellers need to be absolutely certain that the images they showcase are converting as much as possible. It is better to trust a professional who knows what they are doing to maximize your chances of winning.
Although in the event you are unable to enlist the help of professionals, here are some great tips on making sure you are able to bring the absolute best out of your product.

Useful Tips for Photography and Image Design:
- Wear white clothing to Photograph a product having a mirror reflection (such as stainless steel) in order to prevent your own reflection on it.
- Make sure your packaging looks desirable.
- Using a wooden table or a marble tile for infographic product photography really brings out the product.
- Do not make the error of flooding your image with too much text. Infographics are specifically designed to avoid boredom such as that.
- Keep your icons attractive and a minimum text of a few words. Make sure they complement the image background and do not stand out like a sore thumb.
- You can shoot these images with relevant props in a manner where certain features of the product are highlighted. For example, stage essential oils with candles or a diffuser to highlight its features of aromatherapy. Don’t be afraid to play around with props – mix and match. Throw in some leaves & stones. this in itself gives a message to the audience: this is a natural product.
- For lifestyle images, make sure your product still remains front and center. Your product must not get buried under all aesthetics you are using.
- You may find extra inspiration from social media platforms such as Instagram.
- Do not show a model uselessly holding and staring at your product, show them in the act of receiving the main benefit.
Color and Refinement
As a general rule of thumb, make sure all your Amazon listing images look cohesive in terms of the color scheme. The color scheme inspiration can come from the product’s logo, brand colors, or even from a palette of neutral colors.
Often, the more minimalist your images, the more classy and high-quality your brand will appear. Look at each of your images and make sure you’ve used relevant props (except for the prop-less Main Image) and get rid of anything causing too much visual noise.
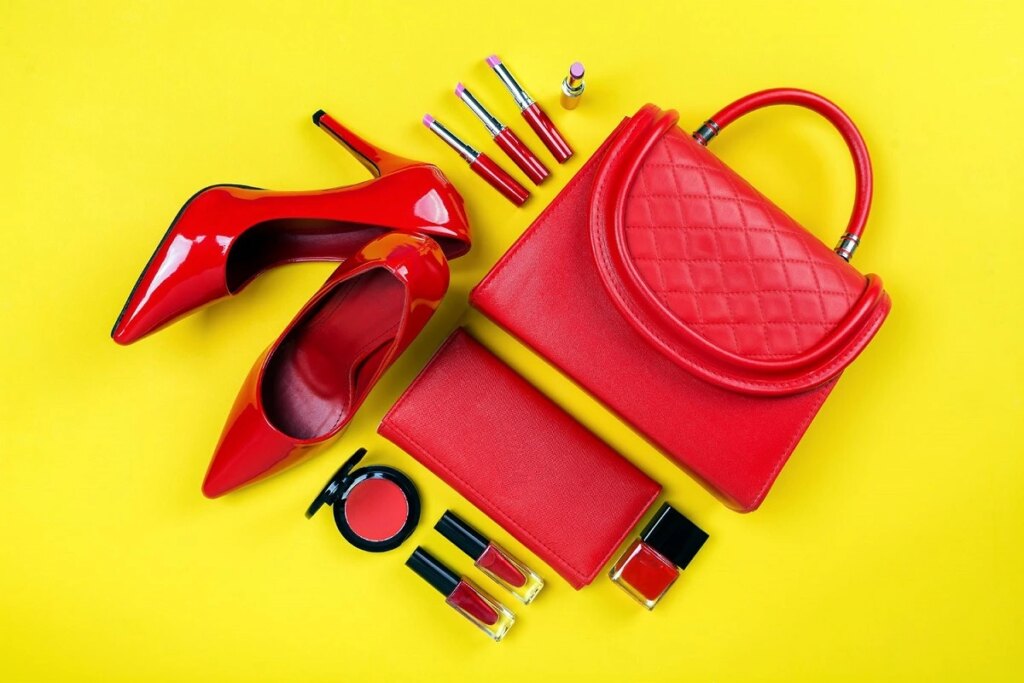
Stay away from bright or overpowering colors because they can distract the eye away from your product. Lastly, retouch and retouch. Even if you’re using a professional camera, do not forget to retouch your images to really bring out the colors and details.
Images are your #1 biggest selling point, so make them count.
Conclusion
Your average shopper will heavily rely on visuals to make a purchase decision. It is up to you to harvest that knowledge and indulge tactful techniques with your Amazon listing images in order to maximize your conversion rates.
Achieve More Results in Less Time
Accelerate the Growth of Your Business, Brand or Agency
Maximize your results and drive success faster with Helium 10’s full suite of Amazon and Walmart solutions.